Showing posts with label basing. Show all posts

Monday, September 12, 2016

Revisiting basing

Hi All,

  I couldn't remember if I'd done a post on basing before. Apparently I've had several talking about it but none giving the step by step. A couple of years ago I talked about my method here.

  On to today's version. Mostly the same with a few refinements.


So this is how I base almost everything except for my Sci Fi (40K) stuff. The only thing I didn't picture is the Air Dry clay (Amaco, 10Lbs for $10 at a craft store.) You also need glue (PVA), texture gel, some kind of grit and, for 2.0, varnish. I then use a couple of sculpting tools and a cheap Testors brush that I abuse the hell out of.


Since the air dry clay comes in a gigantic block that you can never use quickly enough I chip off chunks that I need and keep them in a smaller container. The good, and bad, thing about this clay is that you can make it workable by getting it wet. So I wet a paper towel and seal it in a plastic bag with the main brick and do the same in the plastic container with the chunks I'm using. Sort of like a humidor.


After you've cleaned up your figure and glued it to the base, spread diluted pva over the surface you intend to cover with your clay. If you're using greenstuff you probably don't need the pva.


Use your sculpting tool of choice to push around your putty (clay). I like to put as thin a layer as i can get away with. Be careful about the gaps in slotta bases. You don't want to waste product by filling the  gap, just try to skim over it as best you can. Some clay will accumulate inside. When using clay the thinner the layer, the more susceptible it is to cracking. Thus the next step.


Slather on some texture gel. I use Liquitex Natural Sand. It  has the dual benefit of sealing the clay and giving a fine grit texture to the surface. I tend to wet my brush to help it spread, one could probably use a sculpting tool or palette knife, but it's hard to work around the model and not get gel on it.


Then scatter a pinch of grit on top of the wet gel. Mine is just some green aquarium sand that i bought 20 years ago that I'll probably never use up. Now you could just prime it here, but the grit may flake off during painting or even priming, especially if you use a brush. I tried spreading more dilute pva on top to seal it, but wet paint can reliquify pva. So you're back to square one.

In 2.0 I'm trying a spot of varnish to seal down the grit. I use a dropper bottle, put a drop on a couple of corners and daub around with a brush.


Getting some lads ready for Oldhammer weekend.

Have a tried and true method for basing you want to share? Have any questions about how I do it? Comments and critiques welcome.

See you later.

Friday, July 1, 2016

Shogun Miniatures = Great Service

Hi All,

  I finally put in an order to Shogun Miniatures for some movement trays after Chris McCandless recommended them to me at last years Oldhammmer USA Weekend.

  As you know I'm a do it yourselfer, but the price and quality of the trays can't be beat. Very nice metal, expertly cut and not a burr or sharp edge to be found.


 I think this one is for 2 ranks of 5 25mm square bases.


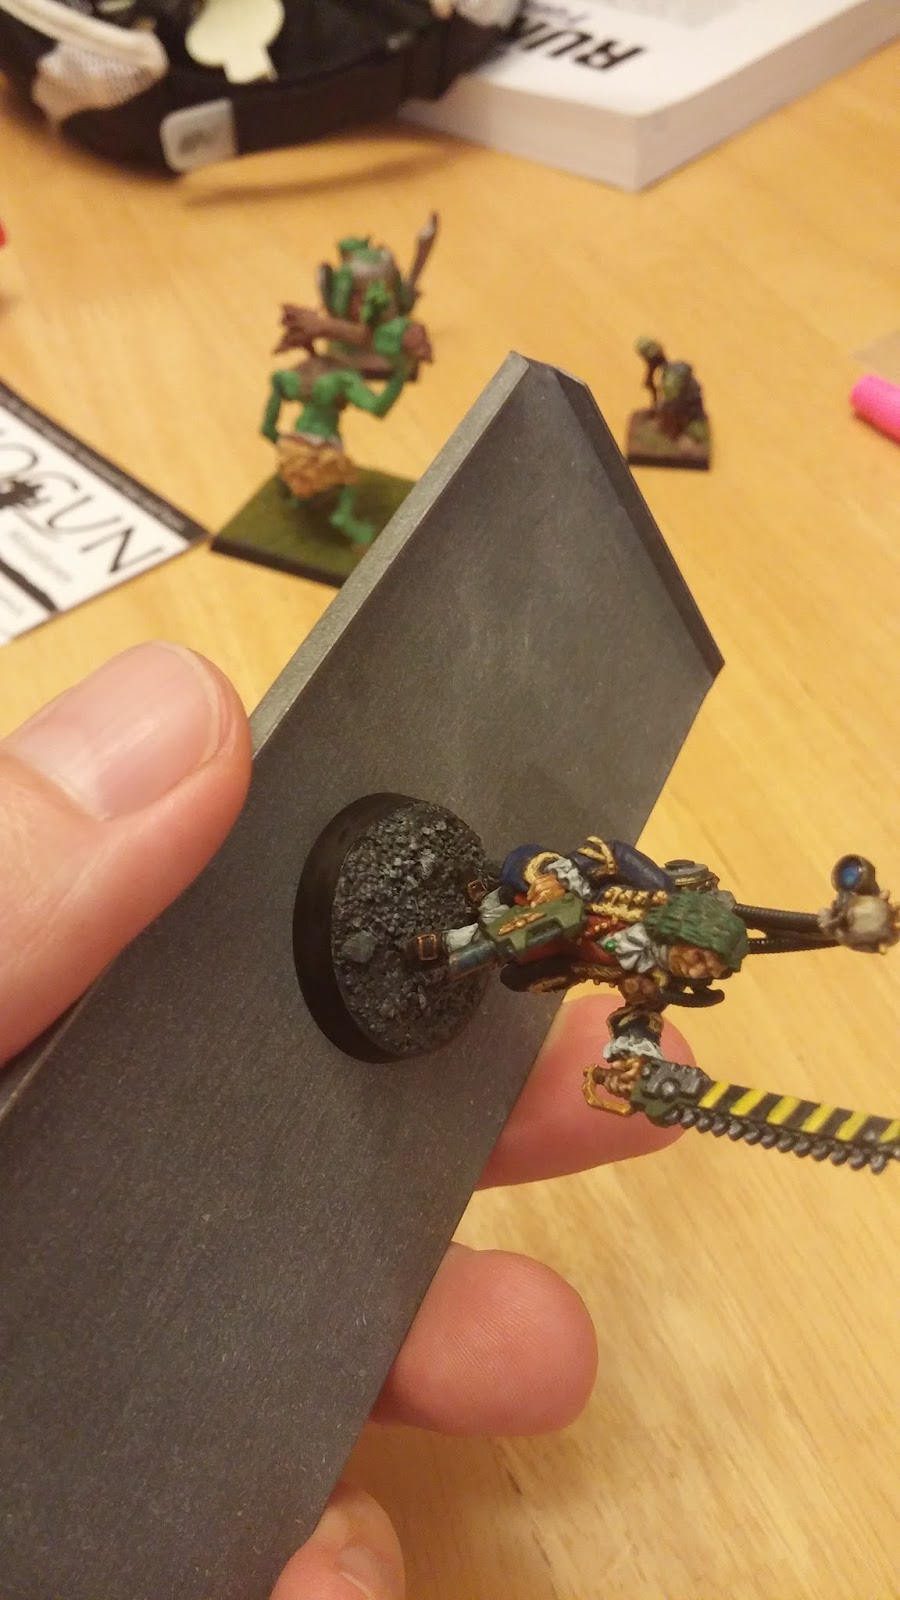
Abdul with a magnetized base, sticks pretty well.


I just used my Loctite gel superglue to attach the magnet. It seems to hold fairly well, I wouldn't thrash it around though. I'd also recommend putting the magnet in a more central location.


These magnets appear to fit perfectly under both official GW bases and my Chinese knockoffs.

You can order them directly from K&J Magnetics here. I just ordered another couple hundred to prep for Brian's Birthday Bash.

My next post will be Paint Table Saturday and then I'll follow up with the Jewelry trays and custom sheets from Shogun that I'm using for transport this year.

Stay tuned.

Friday, September 4, 2015

Basing, storage and transport.

Hi All

I've been doing a lot of prepping of figures over the last week, but don't fear, I still have a mountain of lead and plastic.

This stuff is mostly 20mm stuff that I purchased from Splintered Light Miniatures awhile back. I'm including a few 28mm figures that I wanted to get done as well. I still need to have a sort through and prioritize my painting.

Anyway, after seeing other peoples stuff and getting a lot of tips, I wasted time did the necessary internet research on the various topics.

Basing: I think my general fantasy basing scheme is going okay. I'm using all the old and new square plastic bases that I have. One thing I've hit upon to tackle scale creep/ integral base is to use either the thin plastic rendera bases or 1.5mm plywood from Litko. For my 1/72 (20mm) projects I'mm still using the fender washers 3/4" (~20mm) and larger for monsters etc. Where I'm not sure what to do next is my planned foray into 40K or Sci-Fi/ Post Apocalyptic / Space Trash games. My 28mm basing for non Warhammer Fantasy Battle has been a little all over the place. Thus far I've primarily used 3mm thick 1" (25mm) wood discs that you can buy at the craft store. I've also used one of the lipped bases, I think it ends up being slightly larger than 25mm at the edge but the top area seems the same as 25mm. I was looking at info on 40K and there seems to have been a switch from 25mm to 32mm for most troops, with larger bases like 40mm and 60mm for monsters/ robots. Putting a Space goblin on 25mm seems like overkill, but I can see the appeal of not having to have so many different base sizes. I have some 20mm plastic slotta bases that I'm not going to use for 20mm metal zombies. I guess the open question is, what do you do for your sci-fi? I feel like I should try a different basing scheme as well.

Storage: I feel like the Sterlite plastic containers have done their job adequately. One innovation that I saw at Oldhammer USA was the addition of sheet metal to the bottom of the bin and rare earth magnets on all the bases. I have been using the metal roof shingles from Home Depot for basing 20mm cavalry and engines, but I was having trouble finding what they call "craft steel" in 12" x 12" squares. I finally found it in aisle 20 of my local Home Depot, near the specialty fasteners. Coincidentally it is the same aisle as the rare earth magnets. Now I did purchase some magnets there, but they were 3mm thick and don't fit completely underneath a standard slotta base. Some more research showed that many use 2mm thick magnets because they a strong enough to stick to metal even with a 0.5mm gap. Of course in America we don't use metric measurments so I may try 1/8" (3mm) x 1/10" (2.5mm) disc magnet from K&J Magnetics here. Again any thoughts you may have to share are appreciated.

Transport: While I did use the Sterlite containers and seat cushion foam to transport my figures in my check on luggage, a few people were using jewelers cases to transport their figures. The recommendation I got was for Nile Corp. Jewelry Supply and I think what I saw was one of the aluminum cases from here. I'd need to review carry on sizing restrictions but I think 861-7 might be the way to go. I'm not sure if the 26" dimension on the 862-7 puts it out of carry on size. Any how you could use magnets and sheet metal in the trays and add foam to reduce impact. I'm gong to seriously investigate this.

I want to close with calling your attention to Belched from the Depths, particularly their tutorials which cover many of these topics. If you have any links or suggestions for things that work for you feel free to let me know.

Saturday, May 24, 2014

Basing and Base coating

We've managed to keep up the pace here. On Friday I finished basing the last five Mantic Skeletons and the
14 1/72 figures I had mounted on washers.


Tuesday, October 8, 2013

T.W.I.T. #7 - Battle report and ponderings

It's been awhile since the last This Week In Talomir post and I've decided that this one must be #7. Never mind that there are 24 posts with the Talomir tag. I've posted the latest battle report over at Talomir Tales here. The title "Ager Dedecus" is my google translate attempt to get the Latin for Field of Disgrace. You might be able to get the gist of how it went for the forces of Tropilium from the title.


Ruarigh has informed me that the war continues, so I'll need to fight the battle with a dwindling Tropilium army. (Spoiler alert) I need to come up with a new name for a Tropilium general as Manlius Gluteus Maximus has been forced to take his own life so as to spare his family further humiliation and forfeiture of wealth to the Emperor. If you have any suggestions I'd love to hear them. I could just use the Roman tri nomina generator that I posted awhile back here. I had forgotten about my free google website completely. Looks like it may be time for a freshen up.

In looking for more Roman names I found a couple of good ideas. Ted's Roman Name Generator is pretty decent, but it is one that works off of an input name, and also not very silly. My name returns Aulus Vergilius Servilianus. Not bad. Paizo had some good ones on this thread and so I may look to Asterix for some good names and I can see from links here and here that there are some promising ones.

Back to the battle, the game was pretty good but was really over in about 3 maybe four turns. I played out an attempted retreat that took the game to 7 turns but the writing was on the wall. I may need to investigate a mechanism for calling the battle, just so as not to slog them out when that is really not all that fun. I have had a few battles down to the last man, but those should be rare. I'll definitely ask on the THW forum but perhaps you all have some thoughts on how a game should end. Realizing that I am playing these solo. Honestly I don't fret about things too much, but perhaps there is a rational way to come to terms when the battle is really decided except for the end game.

Highlights of the battle? Fladnag exploding in a ball of green fire as he attempted to cast a defensive spell. The Stygustan infantry going toe to toe with better armored foes and standing up to them. The ballista driving off one chariot with a precise shot. The Drums of Doom really did doom the Tropilium army with a -1 to reaction tests which was especially bad after the Amulet of Sorbrowane went out of action with Fladnag.

Low lights? Every spell was randomly a defense spell. The fact that the Axemen repeatedly failed a maneuver test after having a spell cast on them, there by losing activation and the spell effect.

A word about the figures. The Stygustani are all Egyptians from Caesar sets H47, H24 with four Nubians from H49 to help fill out the ranks of bowmen. The Priest(ess) is from the Caesar Fantasy Adventurers set F104. For Tropilium it was Italeri sets 6021 and 6028 with Zvezda 8052 thrown in. The Ballista was from HaT Greek Catapult 8184 and the Mercenary Skirmishing cavalry were Strelets Turcopoles 090. Fladnag is also from the Caesar Fantasy Adventurers set.


I thought that the Magnetic sheeting painted brown worked pretty well. I will add random blotches of earth and green and may experiment with a little flock. The 8.5 x 11 sheet that I used was thicker  and remained curved while the business card and 4 x 6 that I cut stayed flat. The only in game issue was the sheeting snagging on some of the sand I had put down on the terrain boards. I had been warned about that.

And welcome to Robin Sutton of Wargaming NZ and two other blogs I am less familiar with. He has some great 1/72 stuff and has been playing a lot of Spearhead and now Great War Spearhead.

There was another person to bring the followers up to 128, but I can't for the life of me tell who.

And a correction for Snickit's Tail.

Thursday, October 3, 2013

Zombtober, Bloggery and Basing

Zombtober

Although I don't think I can fully participate, what with Talomir and Orctober taking up a lot of my time, I thought this was a good idea.

I first heard about it from Sheldrake here, but I understand that it originated here. Since most of my hobby time is spoken for right now I thought I'd just make an effort to game Zombies. I think we'll do it this way. We'll play Zombies!!!, I'll start getting my head around ATZ-FFO, and then we'll maybe try using Zombies!!! game pieces and the ATZ city deck. We'll culminate trying to use the 54mm zombies and survivors that we have. Sounds like a plan.

Around 50mm tall, green is the international color for zombies.

Bloggery

I think it was Paradox0n again who noted in passing that his stats had changed. I think he said that his page views had lowered because blogger was no longer counting bot crawls as page views. Mine have been hovering around 100 per day, more if I post, less if I don't. I've also noticed a lot more traffic sourced from google or blogger as the refferring URL, not sure what that is all about. I also received an email from Feedspot, telling me about how many new viewers were reading Talomir Tales on their feed reader. I find this odd as I am only one of about five authors on the blog and not even the admin. When I independently (ie did not follow the link on the email) tracked them down they basically look exactly like Feedly. So I'm not sure why I would change to them.

Basing

Now that push is coming to shove for finally gaming an RRtK battle with figures I'm going to actually have to work out my basing scheme. As you may recall I was going to use magnetic sheeting as stands/movement trays. They are 3.5" x 2" and I was going to use a full one for cavalry, engines and monsters while using half of one (3.5' x 1") for infantry. Well the chariots alone would not fit on a 2" deep base if I'm trying to keep the 3.5" frontages consistent. 3.5" is a frontage of about 89mm, which also begs the question if I should be playing on a larger table. I currently play with these frontages on a 4' x 3' table, but I think that size was with 40mm frontages in mind so I should probably be playing at least 6' x 4' if not 8' x 6'.

That will have to be sorted another time as I need to get this done. I'm happy to report that painting the magnets looks okay. For now I'll just paint them my base earth tone. In the future I'll experiment with some light flocking.


Still way behind.

And welcome new follower Snickit. You got stuck in the back of the followers widget because you don't have an avatar, one of the annoyances of blogger. I thought your blog was Snickit's Tale but that appears to have been deleted. I thought I was following it as well. If you have a new blog, or can resurrect that one, just let me know.

Saturday, September 28, 2013

Chariots!

So I think I mentioned that I'm a tad behind. I got some more work done on the Stygustan and Tropilium armies for my Talomir Tales battle using the RRtK rules from THW.

As you may recall I did not have a ready made base handy so I was going to make some from roofers tin. Here's what I came up with.

Not glued down just positioned. Sorry for the cellphone picture.
So I just laid them on the shingle, marked off a rectangle with a sharpie marker and then traced the arc of a 1.5" washer to help get the rounded edge. Only really had one burr from cutting and some casual passes with a file took any troublesome edge down. My normal procedure is to glue the figure to the base and then build it up with clay, but I thought that would be difficult for this application. So I spread a thin layer of the air drying modelling clay on the tin, added the texture goop and then spot PVA glue on the chariot wheels and horse hooves. The assembled chariots were a tad warped, so an apple sauce jar lid was laid on top to hold the figure down. As usual the green aquarium sand was sprinkled on while the goop was still wet. I think it was Mathyoo who mentioned mixing PVA into the clay. I did not do this but will henceforth modify my basing procedure by spreading PVA on the metal surface of the base before applying the clay. I have been successful in gluing dry clay down with the goop, but it can be difficult. Especially with thinner layers of clay.

Said Chariots

Chariot crews
I am beginning to appreciate that fully assembling the chariots is going to make them difficult to paint, but I am desperate to have assembled models at this point.

The Ballista and crew (HaT Greek catapult)
The camera refused to focus on the figures on sticks
And I just wanted to show you how I rigged up some balsa block with tooth picks for painting riders and shields. I need to figure out a good way to affix things so that they won't fall off when I paint them but won't be permanently glued there as well. I received a pile o' figures from someone that had a few that had suffered the permanent attachment to the painting stick.

So that's that as they say. In other news the Old School Gamers group on facebook just had its second anniversary.

Old School Gamers

And I'm excited about Orctober. You can read about it at Erny's place here.

Monday, July 16, 2012

Viking figures, some progress

It's not much, but I've started making some progress on my Viking figures. Right now I'm trying to paint up the Mirholme Army in the Talomir campaign. There is a little more pressure as Ed (owner of Two Hour Wargames) has joined and will be fighting one of the other battles. He blogged about it here.

Anyhow, a few minor setbacks and challenges. I had to brush prime as my unused Citadel primer is somehow blocked and won't spray. My attempt to use poster tack to put figs on a popsicle stick failed miserably. I don't want to glue them on as I'm afraid I'll snap them off at the ankles. I found and then lost some double sided tape that I will try next, when I find it again.

The basing is coming along nicely, a mix of sand and Railroad Scenics ballast. But I learned that I need to apply a second coat of PVA on top unless I want the material all over my paint brush.

The non functional spray can.

What do you mean it's no longer under warranty?
 Yes that says 1999 on there, never sprayed it once.

You may recall Hemming and crew.
 Coated in diluted PVA then left to dry. Followed by more PVA on the base and covered in sand/ ballast. Then painted on the Black and relized I should have sealed the sand with more PVA.

A mix of Zvezda and Imex.
This group is PVA'd. I used light spackle and then played around with putting sand on in patches. Then sealed it with more PVA. When taking this picture I noticed the axeman  on the right has some terrible mold lines. I suppose I'll have to clean him up.

(This will also be my first test of scheduled posts)

Wednesday, June 27, 2012

Basing Basics

Those of you who follow this blog are already probably aware of or following Dalauppror but I thought that his post on his basing method was too good not to share.

From Dalauppror's blog

You can see his 15mm basing method here. And his 28mm basing method here.

What I like about the tutorials is that he clearly shows his color choices and even gives product numbers for the things that he is using. Also you can see a variance in the schools of thought on basing in the two, slightly different techniques he uses. The salient difference being, basing unpainted figures then priming the whole stand together versus basing painted miniatures using a paint and glue mixture.

My own personal basing attempts in the 90's were very amateurish. I think now I would fall into, or do fall into, the base then prime camp.

Also a welcome is in order to the author, Dalauppror the site is great and his painting style is fantastic. Thanks for following this humble blog.