Hi All,
Things have been busy and hectic, so hobby has taken a little bit of a back seat of late. But nerdery knows no bounds, so I started trying to figure out why my old Crosman 1077 (you can also get it from Amazon, here) wouldn't hold a CO2 charge.
While not really into gun culture, I am an American male of a certain age and I enjoy plinking beer cans and shooting the occasional varmint.
After wasting several 12 gram cylinders I decided to try and find out if it was possible to to fix this rifle that I think I bought in 1993.
So I found the manual and the parts list and watched a few videos.
I tried the Pellgunoil hack. It didn't work. Before I could try using teflon tape my brother saw the crack in the end seal. (Part # 38-128)
So a quick search revealed that EBay was my best bet for parts if I didn't want to wait a month. I got the parts from here.
The last thing I needed was a half inch wide standard screwdriver to open up the Guide Collar (Part # 338-041) from the Piercing Plug (Part # 1077A018). I ordered that from Amazon here. In one video a guy just ground the point off of a 1/2" spade bit. But I'd rather just have the tool.
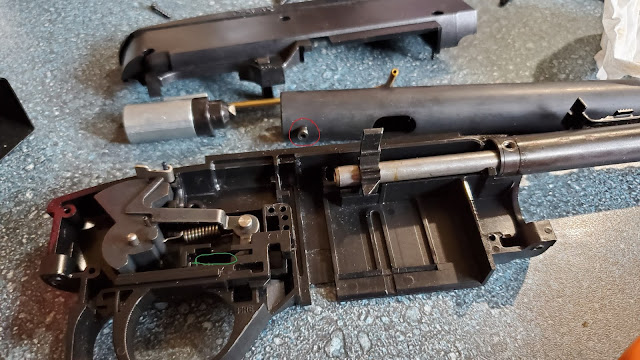
Here's the pictures.
And it's off. Now I just have to wait 5-7 days for my End Seals to come in.
I'll try to take better pictures of how it all goes together when I button it back up.
Happy Hobbying.


Hope your fix works out, and when it does I am sure it will be satisfying!
ReplyDeleteAnd are you making any mods whole you have it open?
Hi Lasgunpacker, it will be satisfying if I can get it to work again. I enjoyed shooting this gun when I lived on my parents farm. I hadn't thought about any mods, but I know there are a bunch out there. I have a little time before the seals get here to think about it, but I'm a little preoccupied right now.
Delete