
I realized that it's been awhile so I thought I'd jump in and give you an update of sorts. It's been a whirlwind of ups and downs as cabin fever sets in and things seem to be not working at times.
First, here's the progress on my Worldographer map.

I know, you're probably asking yourself "isn't this the same exact map he showed last time?" Yes and no. I went for the full map being delineated by the smallest hex size I wanted to use. So each hex generated by the program is 6 miles across. All of the coastlines and rivers are done as polygons to get the shapes I wanted. You can see I've put in the border of Monfel in the upper Left area. It more or less follows the area of the hexes from the hand drawn map.
Once I get in more of the borders and settlement I can start tweaking the boundaries and terrain. For instance I need a lot more tributaries for those rivers.
I've been running into a weird issue where I seem to be overloading the program and it will tell me I'm out of memory. I can't save of export or anything. Closing and restarting seems to fix it, so I just try to save my work often.
3d Printing has been going apace. I had a lot of trouble transitioning to the glass bed. It turned out that I needed to lower my bed temperature from 50C to 40C and use glue stick to get prints that didn't come off in the middle of the print, not stick altogether or warp horribly as the layers cooled at different rates. I also adjust some parameters of when the cooling fan came on, but I think bed temp was more important. The main thing is, there is a ton of advice out there and you have to be willing to try different things to find what works for you. Just because other people say xyz works for them it may not work for you.
One of the things I did was print some upgrades for my Ender 3. I found all of them on thingiverse here.

The vent fan cover redirects the airflow so it is not going straight up at the bottom of the left side of the bed.
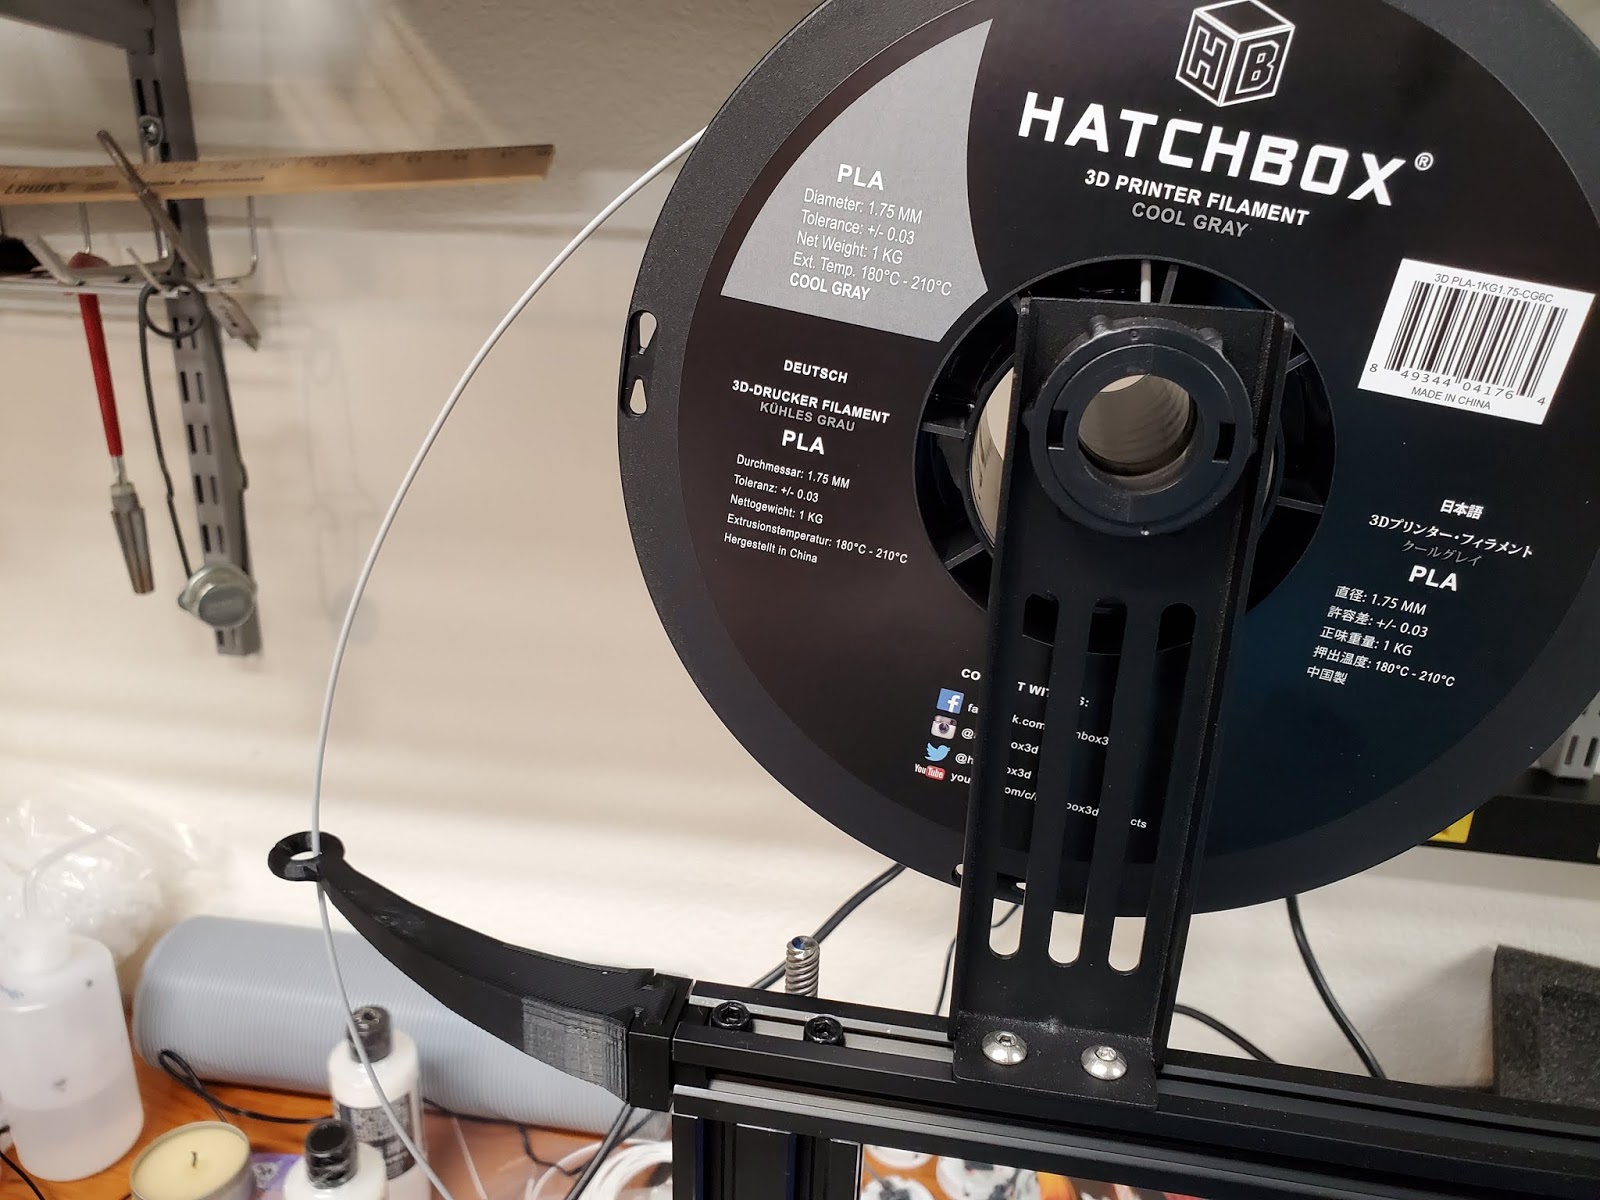
The filament guide seems to help with unspooling the filament so you are no longer pulling straight down.

I found this tool rack very helpful. As you can see, I'm sort of a slob. Now I can find all the tools when I need them. As long as I put them back in the organizer.

Lastly, I printed this filament guide. As you can see, I ran out of Black filament before printing it. Oh well. I printed it at 0.2mm, so that's why it may look a little rough. It's hard to see in the picture, but I did wear a groove in the plastic around where the filament goes into the feed. I din't see it until after I had switched to grey filament. Hopefully this guide will fix that so it doesn't continue to happen.
Hope this helps you if you're having trouble with your printing projects.
Thanks for looking and commenting.
Getting into 3D printing is definitely one of my projects for the next 12 months or so and I am really enjoying your posts. They give me confidence that with a little trial and error it isn't that hard.
ReplyDeleteThanks Millsy. It isn't very hard, you just have to be aware that it is not as straight forward as assemble and print. Probably the best advice I can give is to find online print and video resources that teach you how to do things right. I was very cavalier about getting started and it led to some frustration.
Delete