
As usual I am all over the place and having trouble finding the focus I need to get things done. I think last time I mentioned that I would share some resources I found in White Dwarf that deal specifically with putting together an Undead army. I found those in #'s 142, 211 and 226 (Thanks, Rochie!). So let's tuck in, shall we?

Trying to give you a little more of the cover for reference.

So they made a pretty sweet army here, using most of the range from the time.

3000 points seems like the most fun size of army to collect. For me it seemed unattainable at the time. You can also see that it allows you more freedom with characters. Making 1000 point lists is very difficult in that regard. One thing I didn't notice mentioned in the article was that you can only have one unit of Skeletons armed with spears. Of course I have too many spear armed skeletons because I didn't pay attention to that when I was buying and assembling figures. :p

So all of these issues have guides for painting the iconic skeletons that should make up the bulk of your force.

All of these articles agree that you should prime white and then build up the skeletons with washes and dry brushing. This was the same advice that Blue and Airborne gave me when we were chatting about the OWAC 2.

Here the recipe for ink is 2 parts brown, 2 parts yellow, one part water.

It was probably unnecessary to give you this whole paragraph on dry brushing, I just didn't want anyone feeling that they had missed a vital point. I have no recollection of what Orc Brown looks like.

Interesting that they want to put brown ink in the mouth again before highlighting the teeth. I usually paint dark browns like Burnt Umber in the mouths of all my miniatures and then pick out the teeth with tans and bone like colors, even for humans.

I think their discussion of rusty armor and weapons is pretty good. I've used Charcoal Grey, Burnt Umber, Burnt Sienna and Burnt Orange for rusty metal. a little dry brushing with a metal and a brownish ink wash are also things I already do.

#211 seemed to be previewing the new Undead Army book. There were a lot of pictures of the newer figures, but the layout was split across pages so I thought it would look crap to show captures of it.
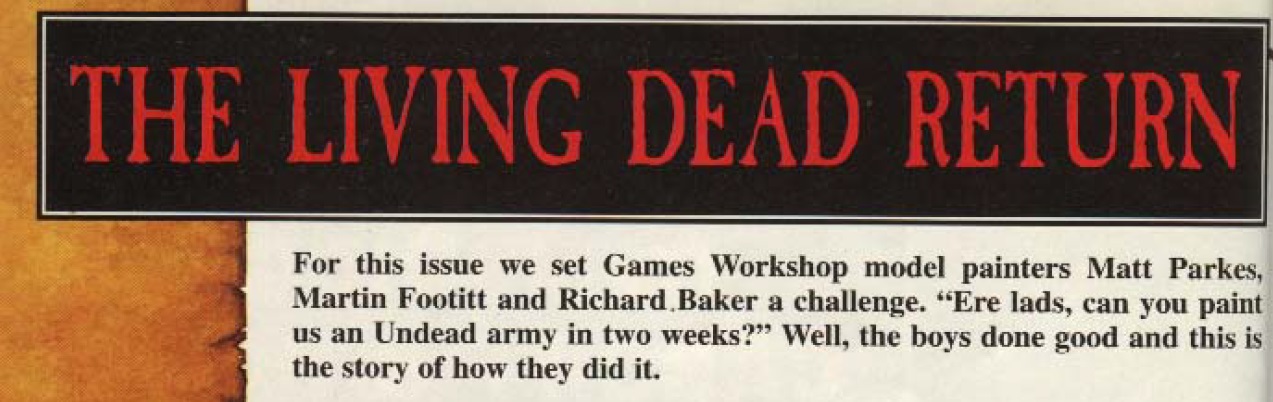
Two weeks!?

The book in question.

Perhaps a better step by step guide than the one in #142. Here they seem to add the step of painting Bleached bone over the White Primer (so the washes will stick, yeah right.) Then a 1:1 Brown:Black wash in the recesses. Then any places that need further darkening, like eyes and mouth, with watered down black wash. They then say to paint all the raised areas again with Bleached Bone and then highlight by dry brushing a mix of Bleached Bone and Skull White. Weapons are the usual, paint a black base and then use metallics. They also used gold accents on the hilts for interest. A mix of Chestnut and Brown Wash was then put on the weapons.

This second page talks about painting the shields and finishing up basing etc. Pretty standard stuff.

This issue is debuting the new Skeleton Regiment.

Quite a few articles about the models, making an army and painting them.

I didn't realize these were designed by Aly Morrison, but I rarely payed attention to who the sculptors actually were.

I have yet to fully understand what the hell they did with points values once Herohammer got in full swing. Duke Harkon there is only about 50 points more expensive than a 5th Level Vampire in 3rd Ed.

This iteration of the painting guide seems the simplest, but relies on using all citadel products. We still spray prime White.

Now we paint the whole thing Bubonic Brown (new name for Orc Brown?) Then wash with Flesh wash. Maybe I finally have a use for mine. I used it once and essentially ruined a model with it because it was so dark and heavy. I expected a much lighter effect form a wash. You can read about it here. It looks like they use Bleached Bone to highlight again with a sort of modified dry brush that I would call a wet brush.
Thanks for looking and commenting. I'll be trying out several different techniques as I paint this army for OWAC 2.
Thanks to Airbornegrove for inspiring me to look back at old White Dwarfs for inspiration.
This comment has been removed by the author.
ReplyDeleteY U remuv commentz?
DeleteWay to dig those White Dwarfs out!!!! Can’t wait to see your first unit in January.
ReplyDeleteThanks Airborne, I'm looking forward to it too. I really need to get cracking on prep though.
DeleteA nice walk through the development of the Citadel paint range... Skellies are Skellies throughout, although it would be interesting to see how a black undercoat with bleached bone/ink/dry brush turns out.
ReplyDeleteHi Lasgunpacker, fear not. For this project I have some that were primed black already. So we will be able to look at different painting methods on different base colors.
DeleteSounds like a fun (and relatively easy) experiment!
DeleteOrc brown was like a yellower version of Kommando Khaki (or whatever it's called now). It was a great color that I miss lot 😂
ReplyDeleteYeah kind of a darker ochre. I have mine still that I had to transfer to a dropper bottle when the lid split on the original pot. Haven't checked to see if it's still good recently though...
DeleteThanks Andrew ans Salem. I've lost track of the paint color names over the years. Most of my old citadel pots don't have labels on them. I also don't really use them anymore.
DeleteMine I bought in the boxed sets, also with no labels. I lovingly wrote the names of the colours on mail labels stolen from my mum's work :) and then crossed out and relabeled swamp brown and orc brown as I got them the wrong way around! (And by lovingly labelled, it's the scrawl of a 10 year old child with a pacer mechanical pencil.
DeleteTakes me back seeing those issues.
ReplyDeleteHi Phil, it really does. It's been great fun rediscovering these.
DeleteHow is it that Mike McVey’s drybrushed skeletons look better than a large chunk of stuff I’ve spent hours laboring over? That guy had true talent
ReplyDeleteThis was my attempt at following those instructions back then. I still have 10 of these skeletons painted this way! https://photos.app.goo.gl/uxHcYRQusJgDUyhb8 pretty sure I messed up the ink ratios though (although my browns were stuffed from the day I got them with really badly sedimented pigment)
DeleteHi Anthony, I am the King of putting in hours of work that look like someone spent only a few minutes painting. Usually it's layering that is imperceptible and looks like I just base coated in one color.
DeleteHi Salem, I like your skeleton it looks good. I never used GW Inks and only used the washes that one time and hated them.
DeleteI'm wondering if there wasn't another with Mike Mcvey's WE VS Undead diorama...
ReplyDeleteThat #211 army was a classic as it was the final nail in the red era's coffin with the end of gbling green bases and such.
Hi Asselessman, I'm sure it's around there somewhere. I felt bad about not including the shots of the army, but the layout was split across pages and it looked like crap. Maybe a photoshop project for a later date. 211 is also one of the last issues I have a physical copy of.
DeleteWhat a great guide. Thanks Sean for sharing this.
ReplyDeleteYou're welcome Major.
DeleteClassic stuff, pure classic. That WD 211 was horrendously influential on me as I think I went home and repainted my undead army in a similar fashion very quickly afterwards :)
ReplyDelete..........and many of them are still sporting that paint job, albeit with 21 years of battering and marching around various tabletops haha