Tuesday, July 28, 2015

Conclusion of Flying with Paints

Hi All,

I just wanted to report back to you all how my experiment in travelling with my paints worked out. Long time readers may be familiar with my previous travelling paint kits.

To Recap:

A fine line between clever and stupid
Have Paint, Will Travel
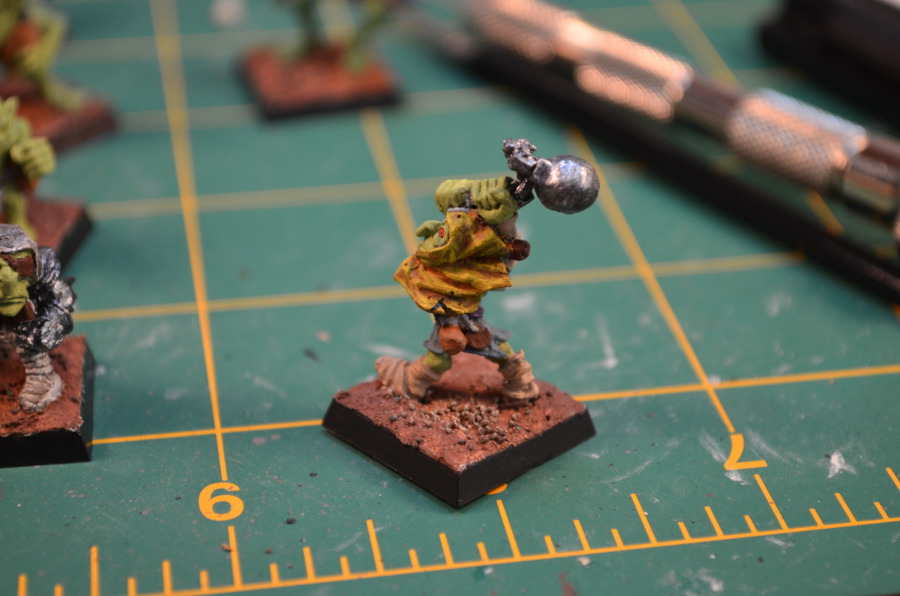
My 2nd Regular Entry - The Mother Crushers

And I'm sure a few others that I didn't put in the right keywords or tags for. In these posts I traveled with all the figures and paints in checked luggage.

For this trip I wanted to try  bringing everything in carry on luggage. As you may, or may not have found yourself , there is a dearth of useful information on the subject on the old interwebs.

I thought I had posted expressly about the trip I just made, but there is only a brief paragraph mentioning it here.

So let me tell you the steps I took to successfully put paints in my carry on luggage.

Small Sterlite container with foam and Quart size (0.94L) Ziploc bag
As many of you know, traveling in the US, you are allowed liquids in your carry on luggage as long as they are individually 3oz or less and can fit in a 1qt size plastic bag. Ziploc is preferable in case of leakage. This is known as TSA's (Transportation Security Administration) 3-1-1 rule. This rule can be read and copies downloaded here.

My interpretation of this rule is apparent in the photo above. I decanted craft paints into dropper bottles, approximately 5mL of a 15mL bottle, and crammed a bag full with the paints and washes I thought I would need. Remember that 1oz is roughly 28mL and that some of the bottles may look full as the paint spreads around to coat the insides during travel.

I sought advice on TMP and the Oldhammer FB Group, with almost all of the info and advice being don't do it. On TMP the Paints on a Plane thread is from 2012 and the last comment was from 2013. In that thread there are, in my opinion, some erroneous interpretations of the liquids rule as well as some complaint about the TSA that is not helpful. People need to get over the state of airport security post 9/11.

The key ideas that were mentioned though is to have some documentation. So I contacted TSA via their blog (here) contact link (here) and got a response in less than 48 hours confirming my interpretation of the 3-1-1 rule. The key caveats were that individual airlines and TSA officers have final say on what can go on the plane, period.

With that in mind I printed out my email response, and Material Safety Data Sheets (MSDS) for two brands of Craft Paint and carried those with me. I also got to the airport with enough time to do something about it should I have problems making it through security. I was prepared to have to explain myself but never was questioned. This was at Phoenix Sky Harbor and Sacramento Metro Airports. In the past I have found Sacramento to be slightly stricter in enforcement, perhaps because they are generally not as busy an airport as Phoenix.

So the upshot is it can be done, just prepare for the worst (ie having to toss your paint). I feel that if you have all your documentation, are cordial and non combative, the worst that should happen is you are forced to get out of the security checkpoint and check in your bag. That's when you need to do the math and see whether the $25 fee is worth thee lost paint $ and lost painting time.

I didn't actually paint that much, but it was nice to be able to get something done instead of absolutely nothing. I hope this post helped inform your decision as to whether or not to pack your paints in your carry on luggage.

Welcome to Kat Weazeal of Kat's Painting and Conversions. Kat has been posting on facebook and helped snapped everybody out of bickering about what the cut off date for "Oldhammer" was and just enjoy pictures of painted figures. So check Kat's blog out and hopefully there will be some more updates soon.

Off to paint so I''ll have something resembling an army for Oldhammer USA weekend.

Thursday, July 23, 2015

Figure Score and Fire News

Hi All,

No painting today, I visited with my brother who lives in the town where we went to college. I did manage to find this stuff at Bizarro World.


The magazine was $6, the boxed Knights $12 and the single figures in blister $5 each. The magazine is from July 1980, the box 1996 and the blisters 1997. They also had some army books and a few random Dark Elves and Lizardmen blisters. I would have shown these off on the Oldhammer Facebook page, but there's been a lot of squabbling and abuse of what is Oldhammer and these don't fit the criteria. I think 96/97 puts them squarely in 4th edition WFB.


We got back to the farm from the mountains yesterday. I went into Davis for lunch and saw this behind the farm when I got back. At that time it was 25 acres, as of about 7pm it was passing 1000 acres. It's pretty hazy and smells like smoke. I don't think the house is in any danger, as we are surrounded by tomatoes and there are quite a few orchards nearby that are also well watered.

Back to miniatures, if you're so inclined, I posted a few photos of my "greatest hit" over on the Oldhammer FB page but I can't seem to figure out how to link to it. Maybe it's smoke inhalation. Just kidding.

Tuesday, July 21, 2015

The on the road painting continues

Hi All,

Not much painting done but it's more than not painting at all while on the road.


The checks on the right hand figures are free hand with the brush. I forgot my artists pen. Sorry for the washed out cell phone picture. I didn't feel like digging out my camera for one quick snapshot. Just need to highlight the orange and touch up the flesh and boot on the right. Then washes, highlighting etc.


This is the turret from Vikingsholm in Emerald Bay, Lake Tahoe. I had never been there before. Anyway, thanks for looking.

Sunday, July 19, 2015

Vacation Painting Progress

Hi All,

Not a lot to share but I thought I'd show you what I have fit in while on vacation.


The command for my gobbo unit. Bar Varnish and basing they are pretty much done. I see I need to touch up the Half Orc's (on the right) eye, and realized that I didn't bring any Reaper Rosy Flesh to do the moles/ pustules. I'm also not sure if I need to re-highlight his teeth, they look a little dark after the grunge wash.

Speaking of the Grunge Wash, this is the first time I made a purpose built wash for it. Previously I had been mixing 4 drops Raw Umber, 2 drops Burnt Umber and 1 drop of Black Ink wash ala Les Bursley's recipes. If we recall, my riff on it is 5mL Matte Medium, 5mL 20:1 Flow Aid and 15 drops of Ink. So the Grunge wash is the Matte Medium, Flow Aid and 14 drops Raw Umber, 7 drops Burnt Umber and 3 drops Black to get the 4:2:1 ratio in the bottle. In practice this wash seems a little too brown. I don't have any ink with me so I may need to mix some black paint into it. In the future I'll try 4 or more drops of black ink.


A close up shot of the Standard Bearer. I decided to try and riff off of Orlygg's Tiger Face shield tutorial. I had done a test on paper first to work it out in my head. Doing it on the sculpted banner was much harder. It was smaller and I couldn't make the nose at all. I'll accept it for a first attempt.

I was successfully able to transport my paints in my carry on luggage. The TSA Officers didn't bat an eye, but I had an email from TSA and the Material Safety Data Sheets (MSDS) just in case. I also nly brought decanted craft paint, so I wasn't going to loose any expensive hobby paint. Bear in mind that the TSA Officer at the scene has discretion, so what they say goes.

Lastly, I'll leave you with a picture from yesterday's hike. My son and I climbed Becker Peak, overlooking Echo Lake. He is about the same age as I was the last time I climbed it, about 10 years old.


Echo Lake in the fore ground and Lake Tahoe near the horizon. I may paint some more after a short hike today.

Thanks for looking.

Sunday, July 12, 2015

Progress - Primer Woes - Half Orc skin tone

Hi All,

I'm trying to rein in the stream of consciousness while my daughter rambles on about The Amazing World of Gumball.

Lets start at the end of today.


I've been putting more work into the first five of the gobbo unit, so they are starting to form up. I've got a lot of work to do on the shields and I want t get these guys done before I leave for California. I haven't totally decided what I'm taking with me to paint, but I have to take something.

So the guys in the back right are the Army Standard Bearer from the new-ish box and a Black Scorpion miniature that had the axe repair. They're a tad dark in the photo but I had to do them Burnt Umber and then wash them with black ink.  I wanted to do gray primer but my can appeared to clog after the first pass. I tried different nozzles and researched how to unclog the can itself on youtube. I can get the gray to shoot out all over my hands with a toothpick, but none of the three nozzles I tried would get paint to spray out. I found some reviews on amazon talking about the "known issue" of clogging of Liquetex spray paints and the inadequacy of the stock nozzles. Supposedly you can buy packs of spare nozzles at Michael's craft stores. Wish I'd known that when I was there yesterday. I'll let you know how that progresses. It makes an expensive can of paint even more expensive if you only get to use it a couple of times.

I did have one epiphany though. I used goo gone to get the paint off my hands and it occurred to me that, not only could I soak the clogged nozzles in it, but perhaps it could be used for stripping figures? Has anyone tried it?


Going further back in time, yesterday I think, we have the Army Standard Bearer and Gunther after I finished their base gunk but before priming. Just wanted to show the green stuff mold of the axe and my not so great job of blending it onto the figure.

The pictures aren't to scale here, just trying to fit them in one picture.

Lastly I wanted to show you/ document my Half Orc flesh recipe.


Hmm, looking at it now I may have picked the wrong picture in the middle step. Anyway the idea is that you mix the mid tone orc flesh color (Hauser Med. Green) with the three Human Flesh tones (Reaper Tanned Shadow, Tanned Skin, and Tanned Highlight). I think it looks good as a contrast to my usual orc and goblin skin palettes. In fact I'm thinking of painting up Gunther in these colors.

I tagged this post bodgehammer as I've been thinking about the things going on on the Oldhammer facebook group. While I don't blame them for wanting to keep some control over the group and keep it focused, I sometimes wonder if I am really an Oldhammerer. I have a lot of old figures, but I don't mind some of the newer ones or using other recent manufacturers. In fact I'd much rather support people who are sculpting figures now in a style that evokes the old ones than pay some body on ebay 10 times what a figure was worth in 1990 because it is "rare", "OOP", or gasp "In blister".

I need to read Whiskey Priests post asking if Oldhammer has jumped the shark, I'm not sure. Am I an Oldhammerer? Hard to say. But I'm totally comfortable with calling myself a Bodgehammerer.

Thursday, July 9, 2015

2nd Goblin Fanatic Done

Hi All,

Finished that Fanatic, ie glued the flock etc on the base today.


Showing the white side of his hood. The purple belt is a little lost in the shadows under arms.


Just love the faces on these old models. You can see some of the checked pattern.


Showing off the checks, gold bells on his hat and gold coin on his belt. My trick of using gloss on the metallics, or at least shiny matte, and vallejo matte on the rest seems to be working.

For these last few posts I've been using the Auto setting on the camera and adjusting the levels in GIMP.

I've received my Colony 87 figures, but probably won't have time to paint them until after Oldhammer USA weekend

The gobbos are coming along, if slowly, and the Army Standard Bearer needs his green stuffing still. I'm going to get on that tomorrow.

Monday, July 6, 2015

My attempt at painting checks

Hi All,

I wanted to start painting some checked patterns on my goblins and hadn't really done it in awhile.

I wanted to do more of a lozenge than a square. after some attempts on paper that looked like 90 degree rotated squares, I found this youtube video.

Back in the day I used my liner brush to paint the grid lines. Today I used my XS Faber & Castell pen.


Just showing the pen and figure.


I't a little hard to make out, but I've made a little triangle with the pen in the center of the bottom of the hood.


Pick one side of the triangle and draw lines parallel to it. I started the other side a little before I remembered to take a picture.


Complete your pattern grid by drawing lines parallel to the other side of your triangle.


What I forgot to mention is that we normally start with our light color, yellow,  as the base and draw our grid over that. I then filled in my dark, purple, color and do every other one.


Next go back over your yellow areas and try to fix up the shapes.


Finally you can further define each color in the pattern with a highlight color. I think were done on this pattern. I may have over done it with this last stage. I think the size is too small for my skill set at present. Or I just need new brushes because I can't get a good point anymore.

I also did a few more colors on the main gobbo unit. Need to pull my finger out. I'm running out of time.

Thanks for looking.

Saturday, July 4, 2015

Painting Table Update

Hi All,

Hope you're having a great Independence Day or weekend if you don't celebrate that. We've been enjoying the holiday weekend with a lot of movies and I'm grilling a few Ribeye's while I type this.

We saw Terminator Genysis last night and I enjoyed it. It's kind of like the Star Trek movies in that they use and build on elements that you know while extending the story line in a new direction. And it has all the robots, shooting and explosions you'd expect.

I think I'm way behind schedule, and I've been forgetting to write down my progress, but I have been plugging away at the gobbos. Here'sa few pictures before I rattle on too much:


Here's the Orc Army Standard bearer I've been working on. This is from the new plastic kit and I've had a bit of trouble gluing him together right. A lot of gaps to fill with green stuff and I screwed up the face plate so that it doesn't line up with his eyes. you'll never see it, bit I know I messed it up. I decided to put some cork on his base to make him stand out even more. Gilding the lily?


The gobbo regiment. It doesn't look like much progress, but I got the dark leather on half of them and the lighter leather on all of them. Half of them have also had their skin base touched up.


A fair amount of work, that you can't see, has been done on this guy. His hood is actually half "white" and half yellow. The lower part of the robe is blue gray. I want to do a purple lozenge pattern over the yellow. We'll see how that goes.

I think were going to sit down to a Terminator movie retrospective while we eat tonight.

Have a good one.